
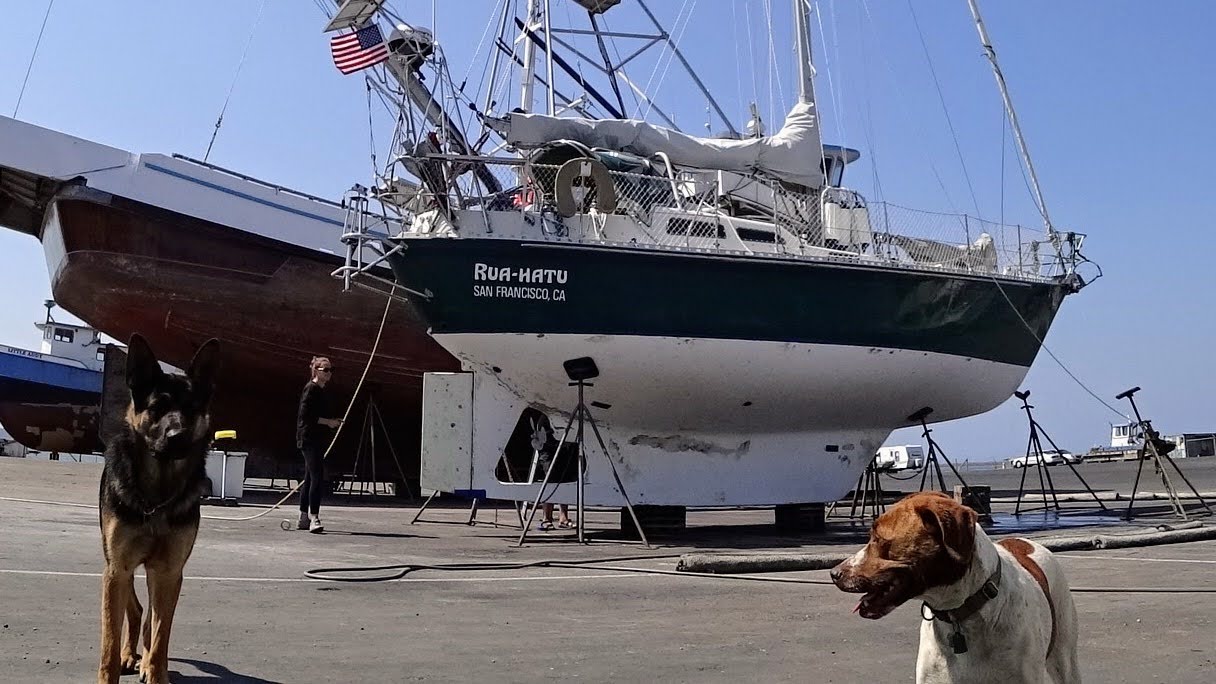
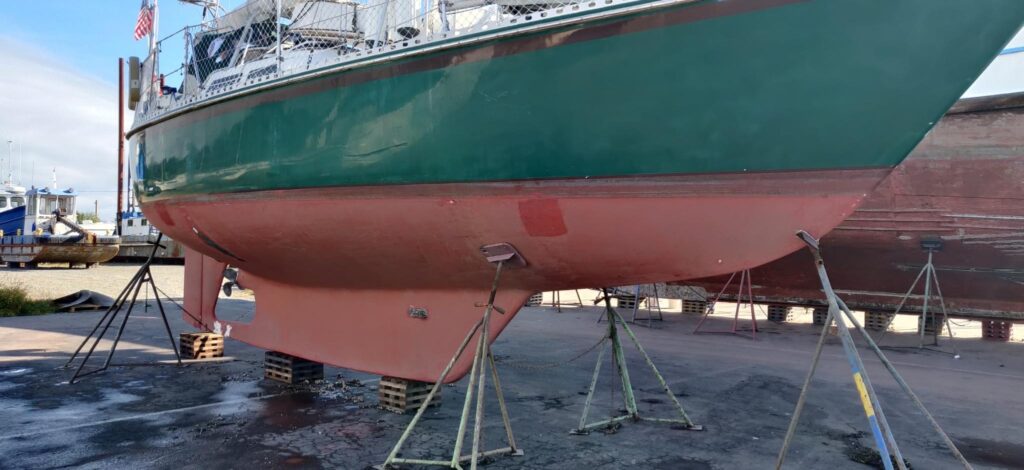
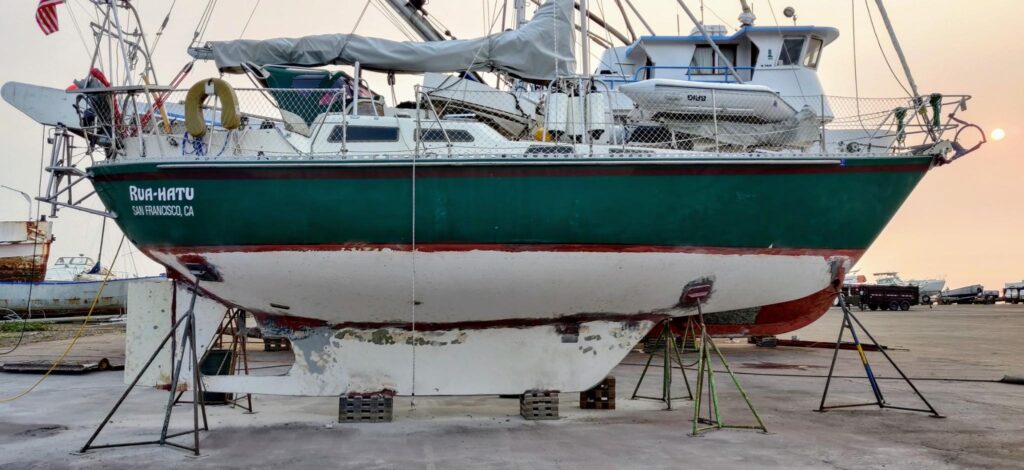
Certainly our journey through the San Juan Islands was a wonderful start to our adventures, but with nearly fifteen years worth of accumulated ablative antifouling below the waterline of Rua Hatu, the most recent of which was already two years old, we were in desperate need of a bottom job before we crossed any significant expanse of water.
Being that we are the DIY sort, it was imperative we DIY this project so as to 1) save a bit of money (at the expense of our time and energy, a fair trade), 2) learn about this critical boat-maintenance task along the way and 3) do it RIGHT so there are no surprises when we’re miles from a travelift.
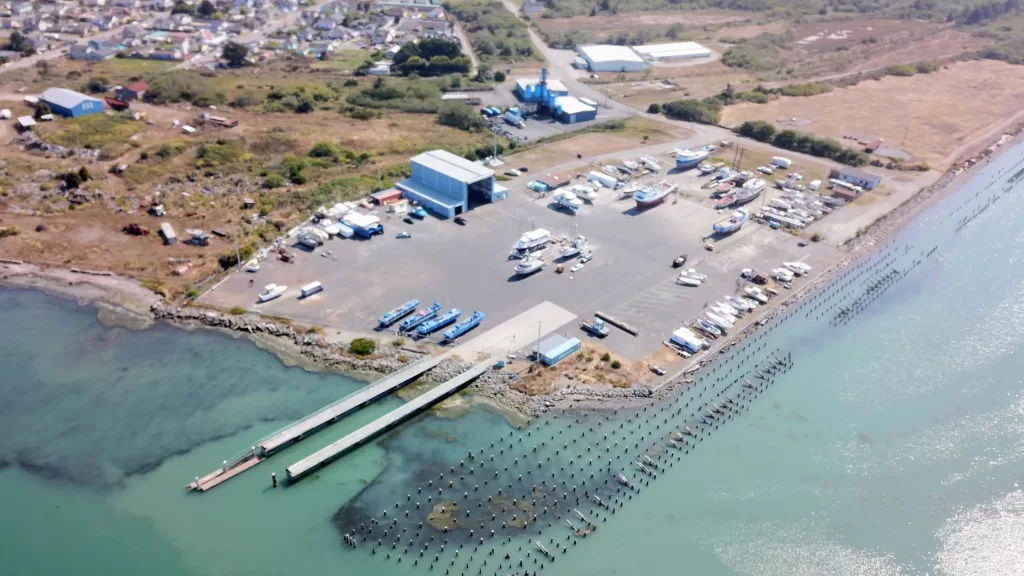
So we set out to pick a yard and a paint and get to work. Our original plans for a shakedown cruise around Vancouver Island included hauling out in Naniamo but COVID-19 and Canada’s reluctance to let in any disease-ridden Americans (I really can’t blame them, we are a revolting nation) put a halt to our northern excursion. Instead, we chose to relive a bit of our own history (as well Rua Hatu’s) in Humboldt County, California hauling out in Fields Landing to complete our task. You see, not only did Janine and I start our lives together while attending Humboldt State University in the early 2010s, but Rua Hatu’s original owner happened to take delivery of the vessel while he attended HSU back in the early 80s. Pretty cool coincidence!
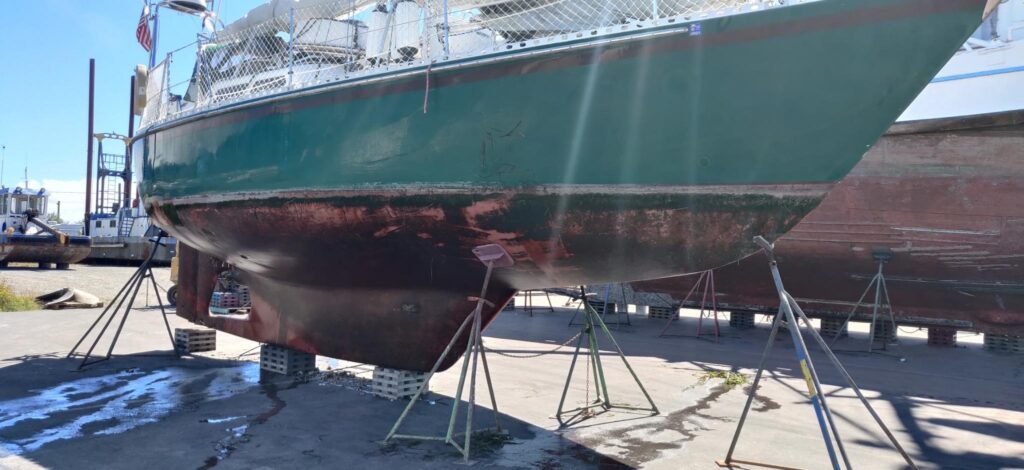
There is much debating the benefits of hard epoxy antifouling paint on the interwebs, especially when it comes to a particular brand called Coppercoat. This specific hard epoxy antifouling is formulated quite differently than other brands in that it consists of raw, powdered copper suspended in a two-part epoxy. Rather than slowly leach copper or some other biocide from an epoxy matrix as many brands claim to do, Coppercoat is designed to hold-in-place these tiny particles of copper (which oxidize when exposed to water) creating a sort of shell that the crusties just don’t want to grow on. In addition to the environmental benefits of not leaching metals and chemical gunk into the big blue, the stuff is tough as nails and is designed to last for 5+ years, meaning no more annual haul-out to paint.
Surface Preparation
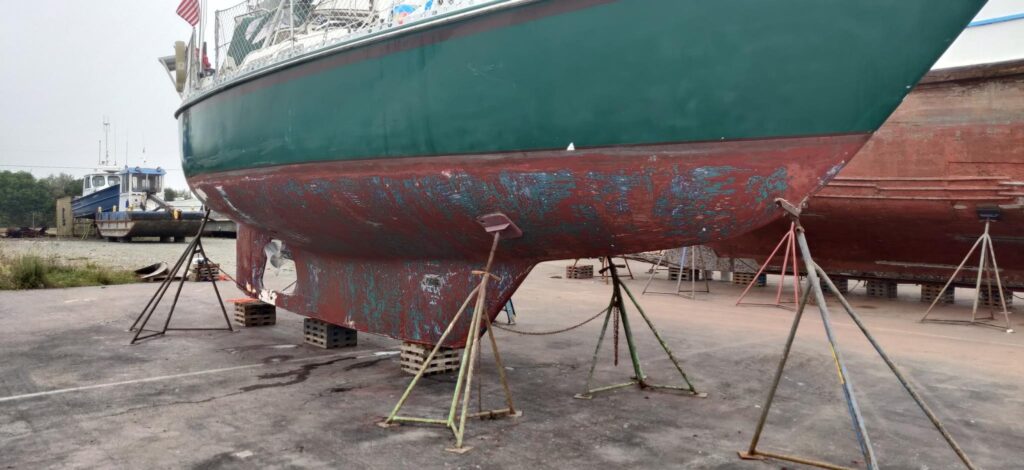
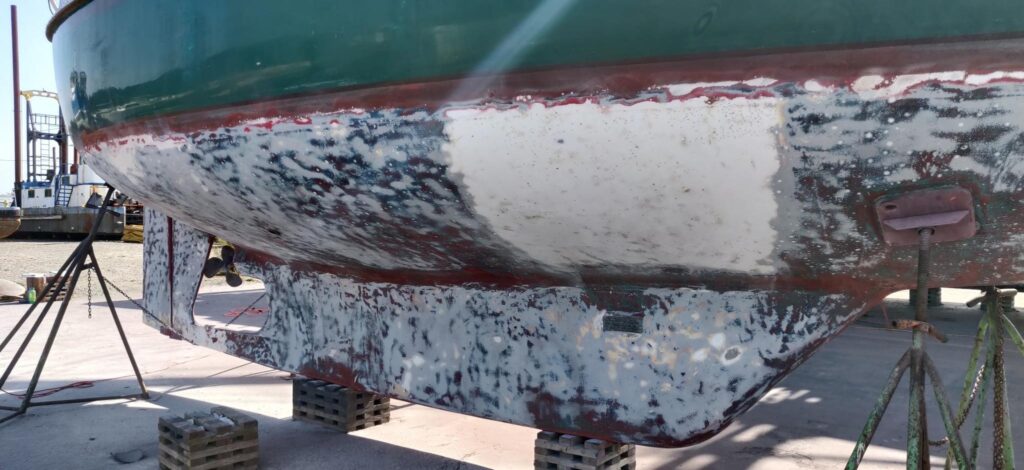
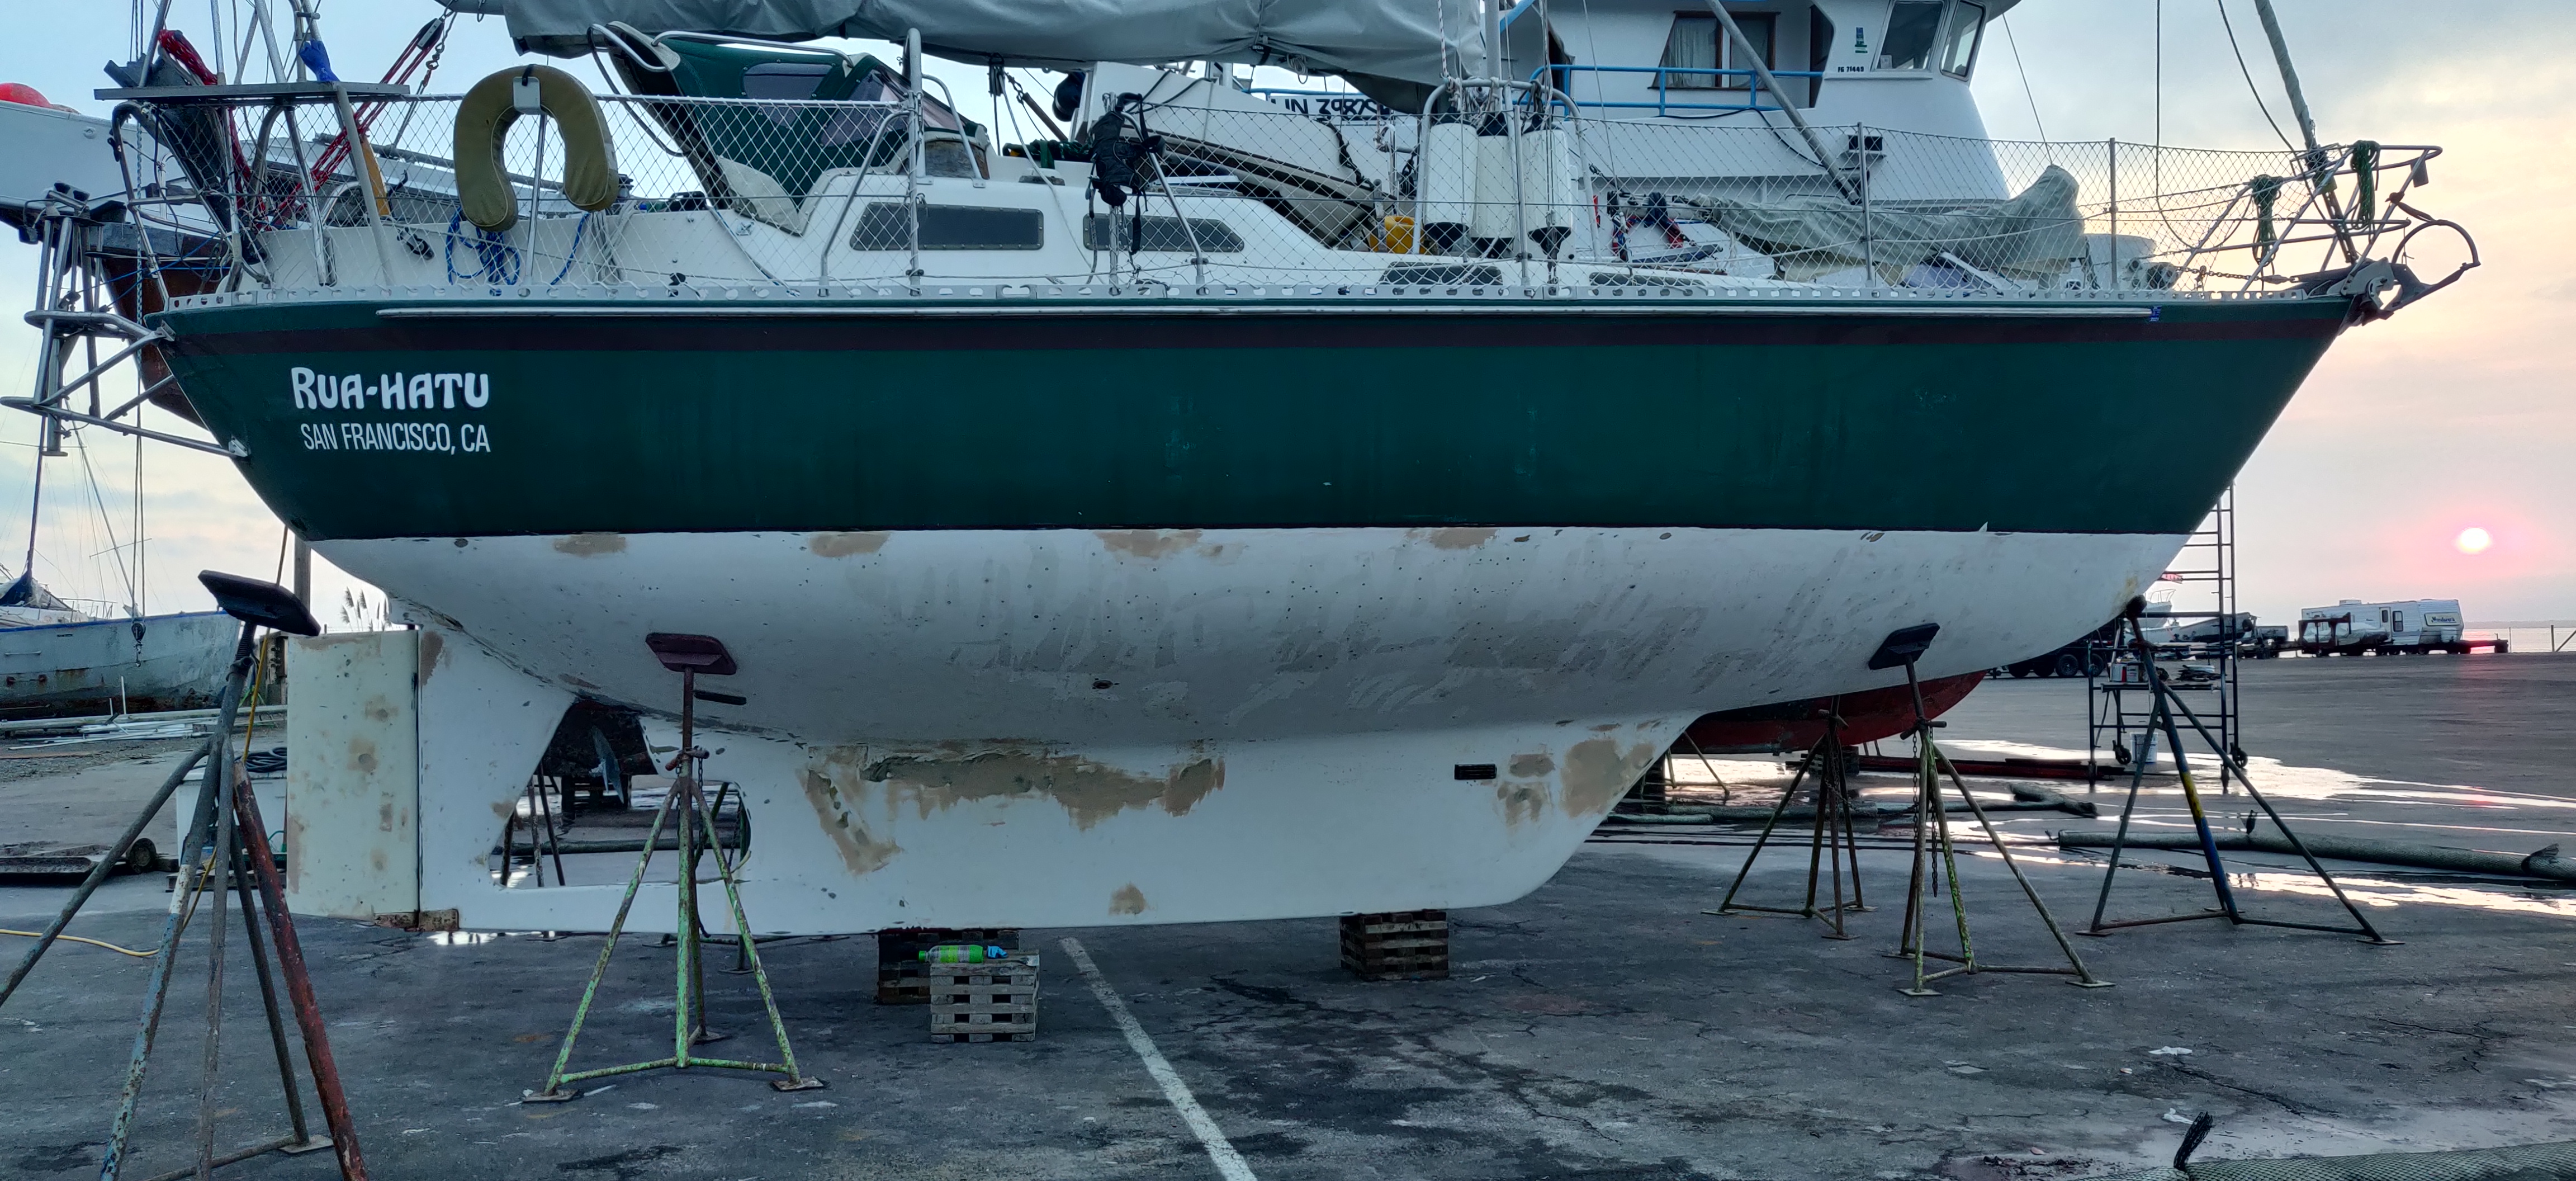
As with any painting project, surface preparation is critical. After pressure washing, two rounds of chemical stripper and thorough scraping it became abundantly clear that mechanical force was the only way to make progress towards a bare gelcoat hull. Therefore I dawned my bunny suit (full tyvek coveralls with hood) and respirator and spent the next two weeks grinding off old paint with 40 and 60 grit wheels. It’s something I hope I never have to do again… On the upside I probably lost 15 lbs during the whole ordeal!
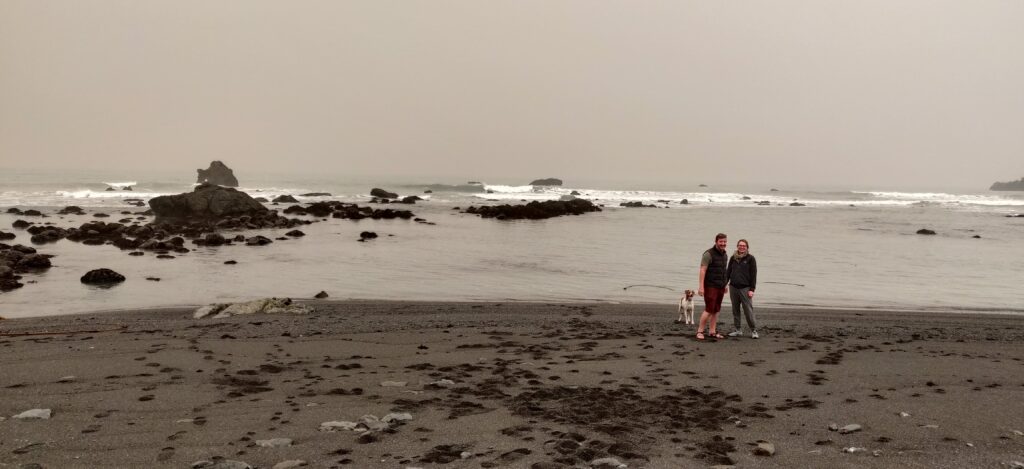
Revisiting the Redwoods
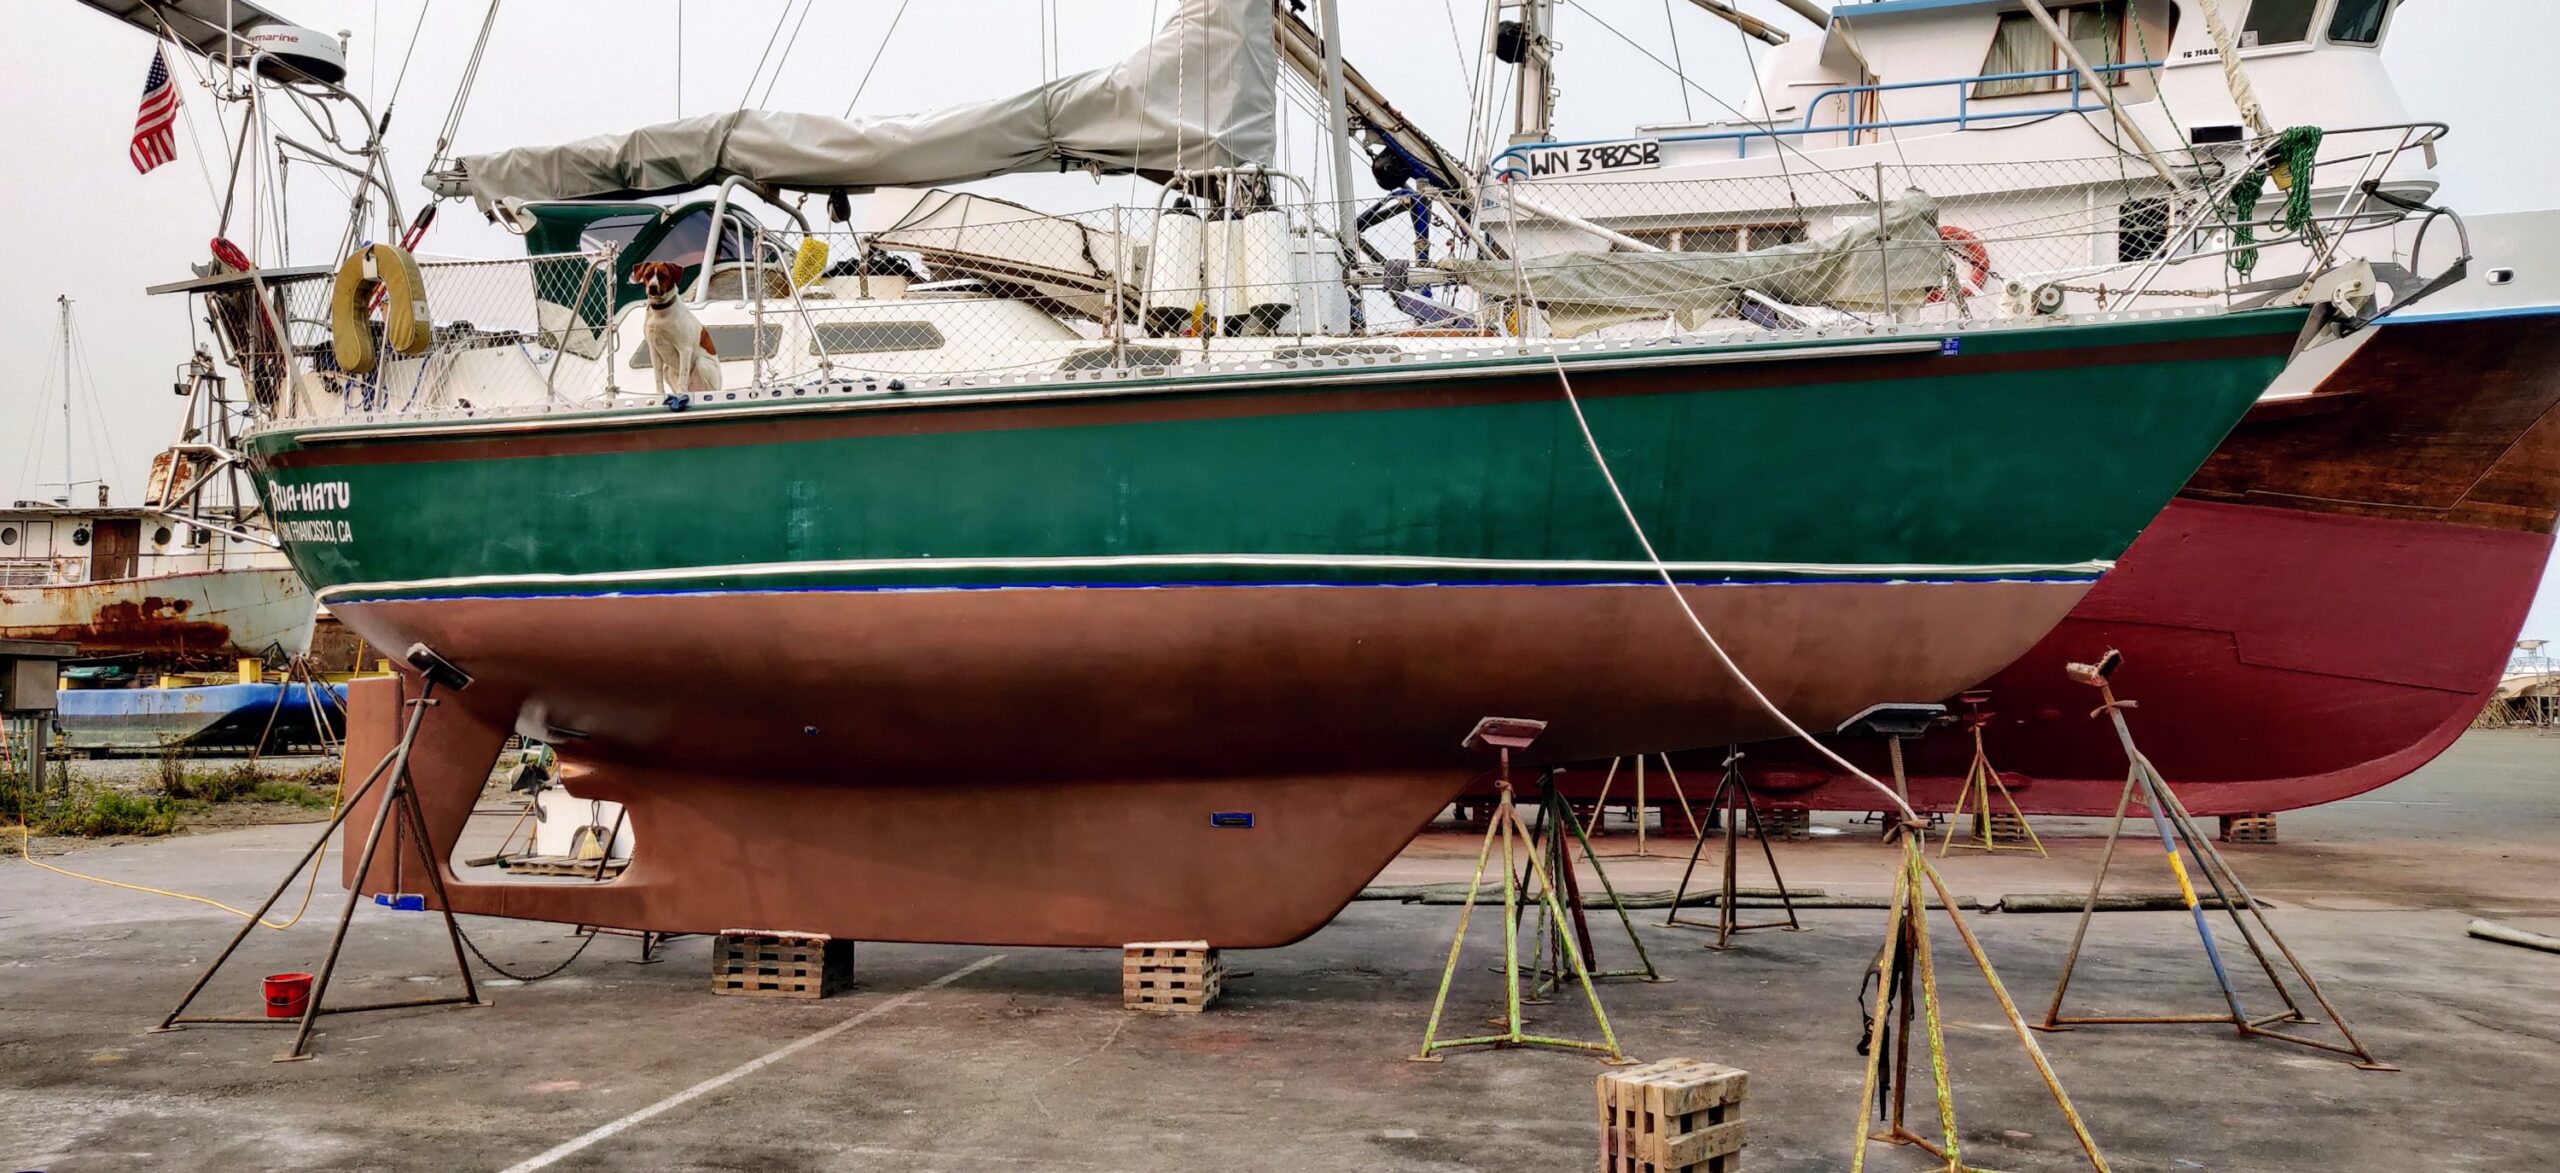
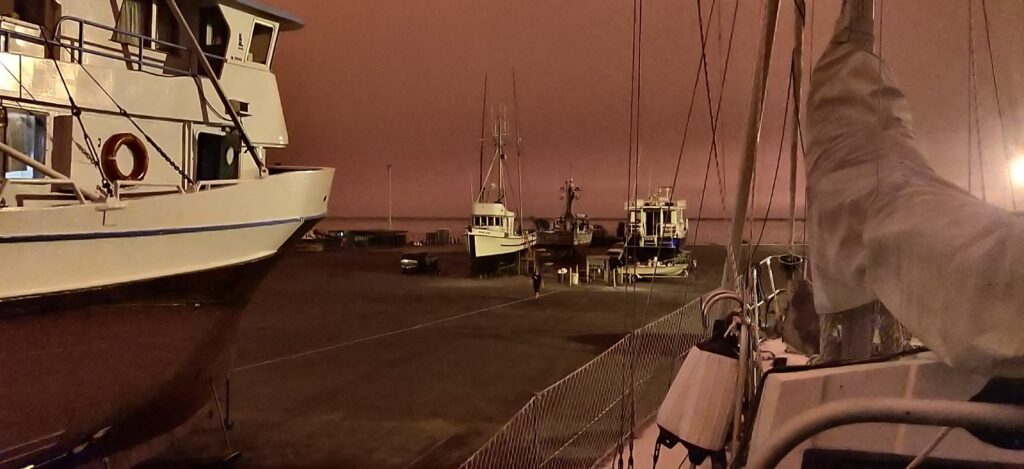
With the hard work out of the way, actually applying the paint proceeded fairly quickly. We rolled on two coats of barrier coat in one day, then four coats of Coppercoat all the next day. Suddenly we found ourselves with three full days to enjoy the Redwoods as the paint dried! And wouldn’t you know it, we awoke on our first free day to an apocalyptic shroud of smoke raining ash… Wildfire season was in full swing. Nonetheless, we headed out to visit Clam Beach, Redwood National and State Parks, Crescent City, Cape Mendocino, Eel River and a few other favorite spots.
Coppercoat Application Tips
There has been much blogged/vlogged(/clogged?) already about how to best apply Coppercoat to a boat, so I’m not going to repeat all of the gory details here. However I feel these few tidbits from my experience we’re important in my success. They might help someone else in the same boat (yard) so here it goes:
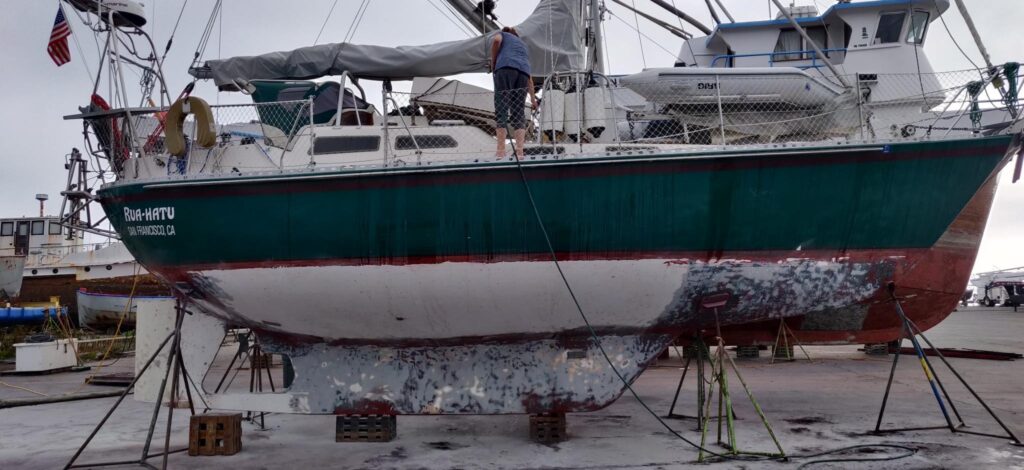
- If you need to barrier coat your boat before applying CC, opt for Coppercoat’s recommended companion product CK426 CeRam-Kote. It’s not any more expensive than most barrier coats I looked in to, and you can save 48 hours of drying and another round of sanding as it is compatible to apply CC within 24 hours. The instructions for applying the CK426 that came with my order had the thinning directions crossed off, however I very much wish I had thinned this stuff as it is quite difficult to lay on smooth.
- Find yourself a big jug of 90% Isopropyl alcohol long before you get to the yard and use it (per the instructions). This is important for two reasons: 1) though the instructions say thinning is optional, consider it a requirement, as it really makes the application much much easier, and 2) since I left Washington, where it was readily available next to the 70% stuff at most drug stores, I’ve not been able to find 90% isopropyl alcohol anywhere; not in California, not in Mexico… Maybe it’s a legal thing?