

Since moving onboard, we’ve struggled to find the right dinghy to meet our daily driving needs. Thus far we’ve worn through two inflatable dinghies, repaired (and re-repaired, and re-re-repaired) our aging inflatable SUP, and nearly sunk ourselves on multiple occasions in the tiny sailing dinghy that came with Rua Hatu. So after surveying all of our options, we chose to build something that would more closely match our needs for a stowable, durable and fun dinghy. And what better place to build a boat than a beautiful, uninhabited island in the Gulf of Panama! Read on to see how we turned a pile of plywood, fiberglass and epoxy into quite possibly the coolest new dinghy we could have ever hoped for!
Space Saving Stability
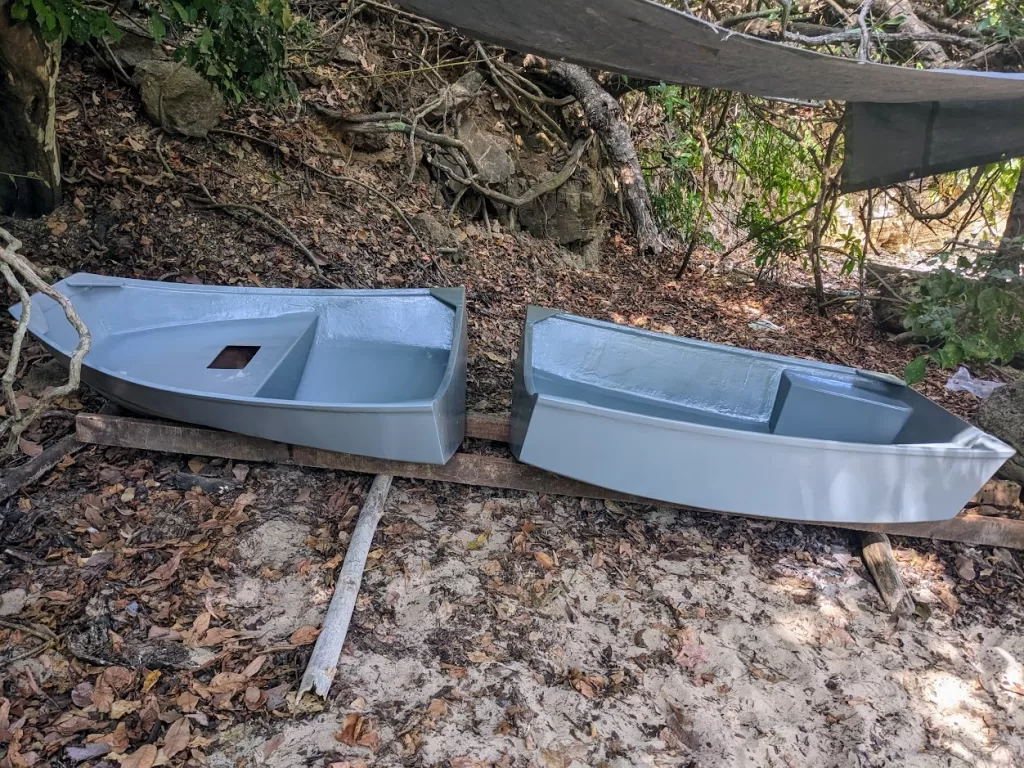
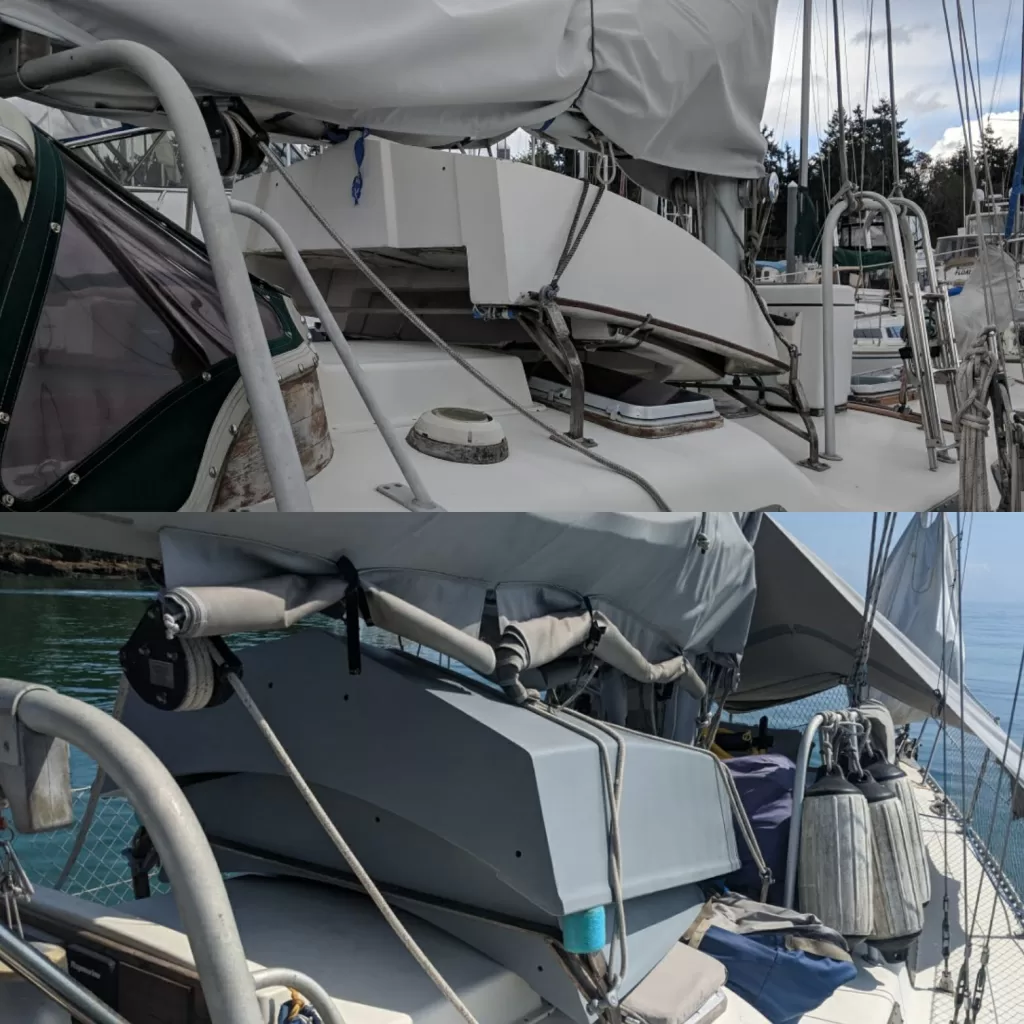
With only 36 feet to work with, everything we bring onboard Rua Hatu must fit neatly into place. But when it comes to dinghies, bigger is usually better. So how do we stow the largest possible dinghy in the smallest amount of space? We cut the dinghy in half of course! Enter the Chameleon Nesting Dinghy, a 10′ 4″ long (assembled) skiff that transforms into a 5′ 4″ package when stowed bow-in-stern.
The nesting design of the Chameleon is not a new concept to us. In fact, we purchased Rua Hatu with a beautiful nesting dinghy already onboard. Sadly, our old El Toro II nesting dinghy was much more of a racing boat than a capable tender. As much fun as we had zipping around anchorages, it was never up to the challenge of carrying two people, an energetic doggo and tons of provisions back and forth. The Chameleon is a much larger, more stable alternative to the El Toro II. It can be motored, rowed or sailed when fully assembled and each half contains flotation chambers to keep it from sinking when swamped.
Supply Run
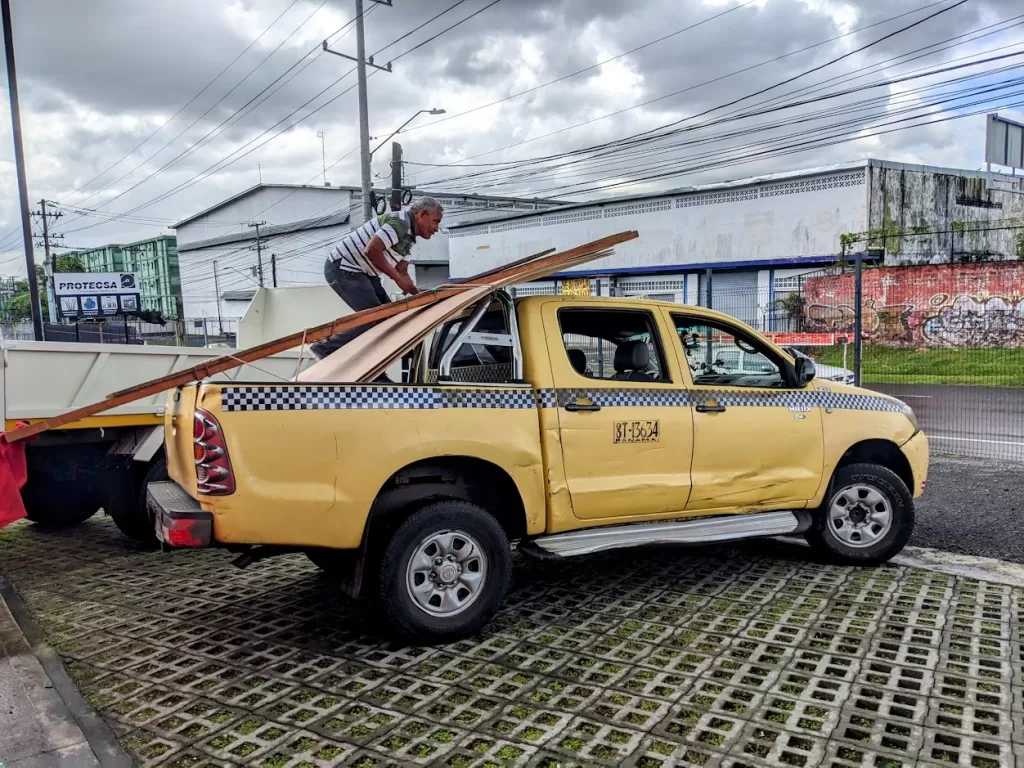
With the plans in hand, we set out to collect all of the supplies and tools we would need to fabricate our new dinghy. The fiberglass cloth, epoxy resins, various thickeners and a few specialty tools all came from Fibropinturas S.A., the local one-stop-shop for all things fiberglass. Their staff were great, and answered all of my questions (I had a lot) over WhatsApp. The plywood and the aluminum mast tube came from the hardware chain HOPSA. We also found a really high quality, affordable epoxy paint at the local branch of Sur Color (far cheaper than any yachty-brand). The remaining nuts and bolts, hatches and specialty hardware (oarlocks and such) we purchased stateside some months back and I ferried them all down while I visited California from Costa Rica at Thanksgiving.

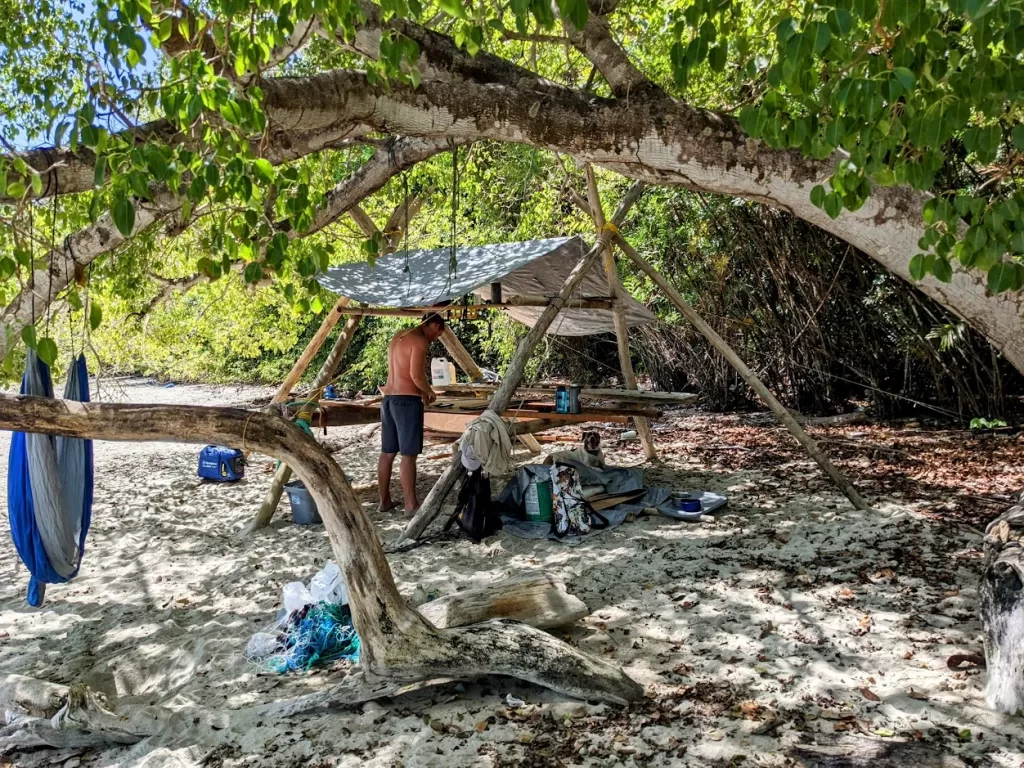
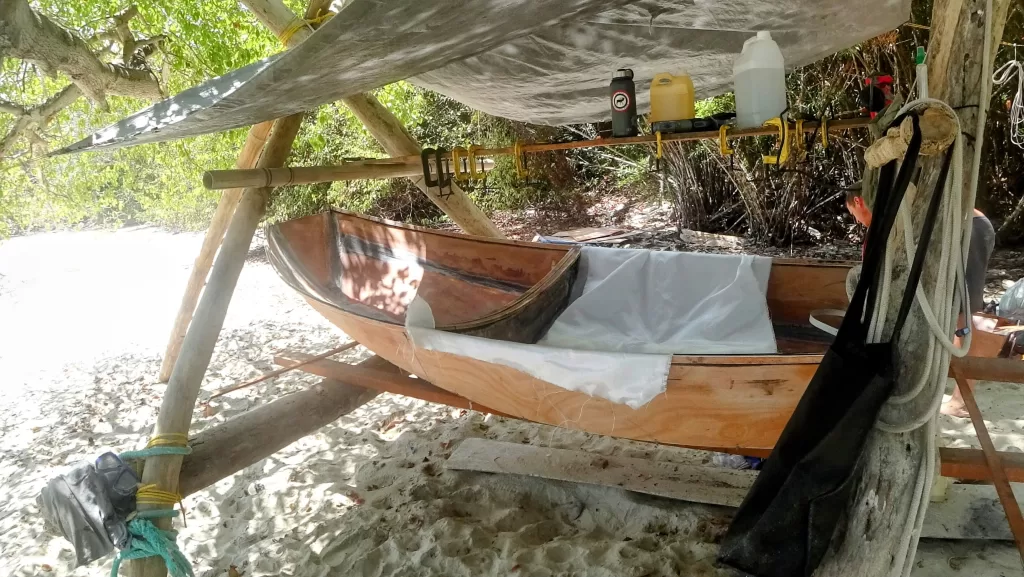
Sanding on the Sand
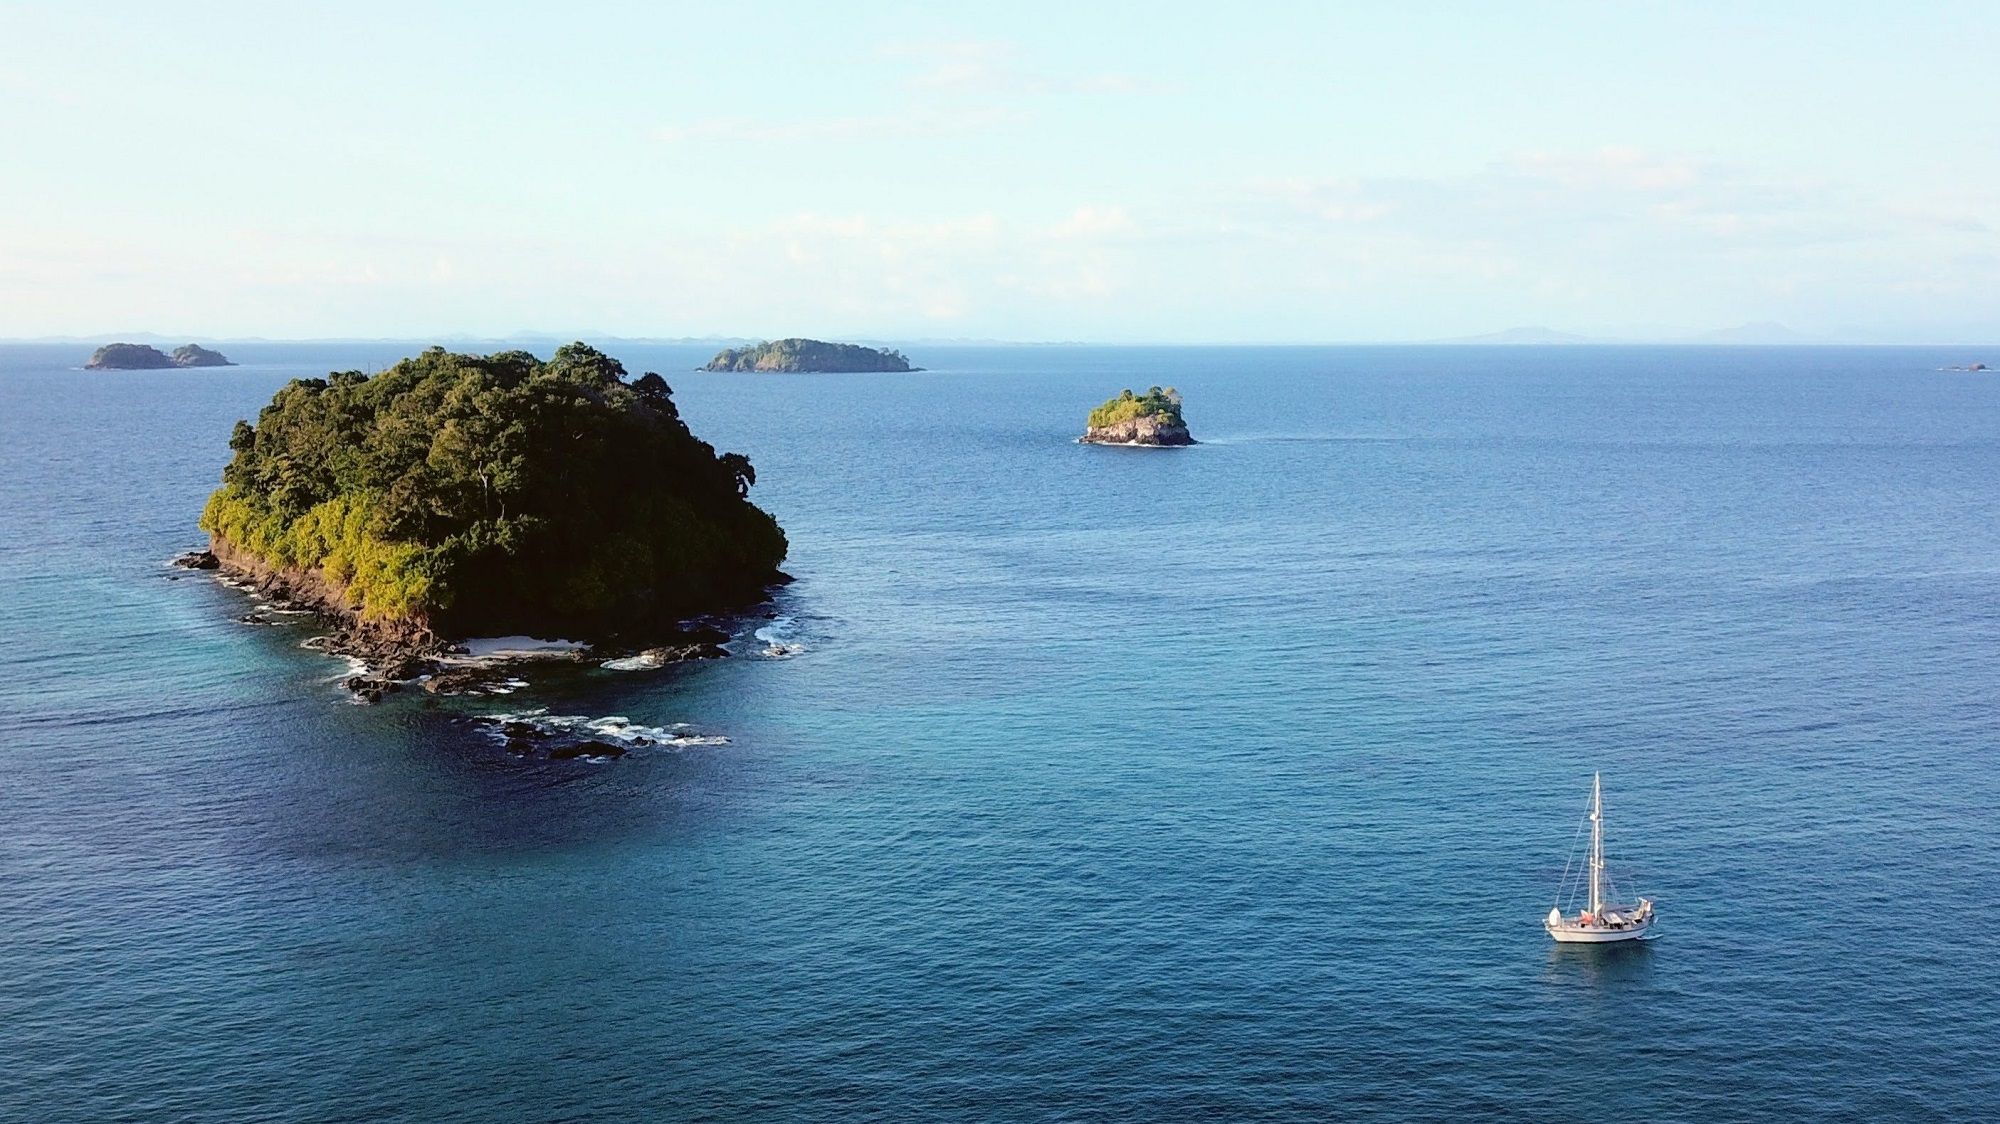
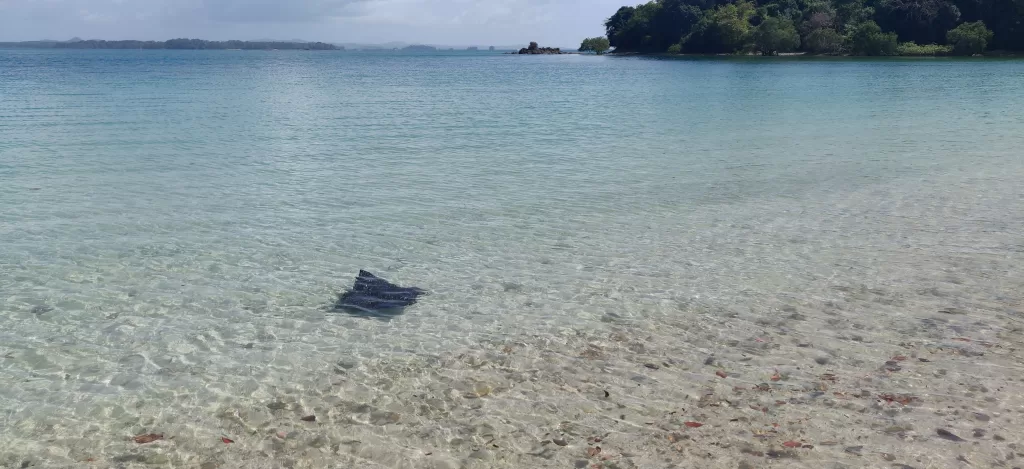
We chose to build our dinghy on an uninhabited, less frequented island in Panama’s Las Pearlas. It had a long, sandy beach and a large shady tree near a reasonably protected cove with good holding. Using some driftwood and my Boy Scouting skills, I quickly fashioned a covered table and sawhorses to serve as a workspace. During our work, we were visited by tons of wildlife; iguanas, coatimundis, spotted eagle rays, and more! Kiwi thoroughly enjoyed exploring every nook and cranny of the island, napping in the shade of the workshop or romping with her visiting doggo buddy Rusty from SV Orplid.
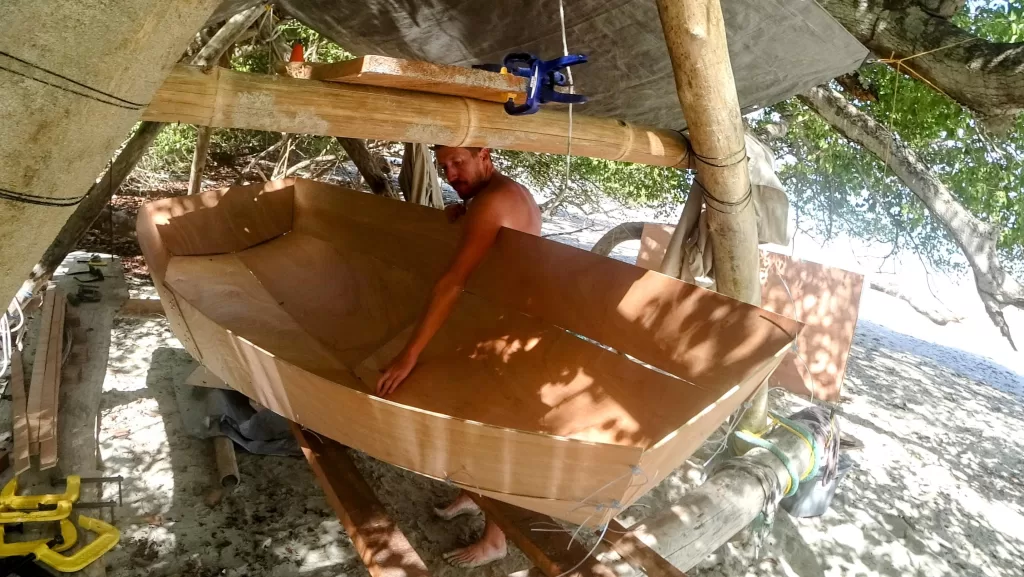
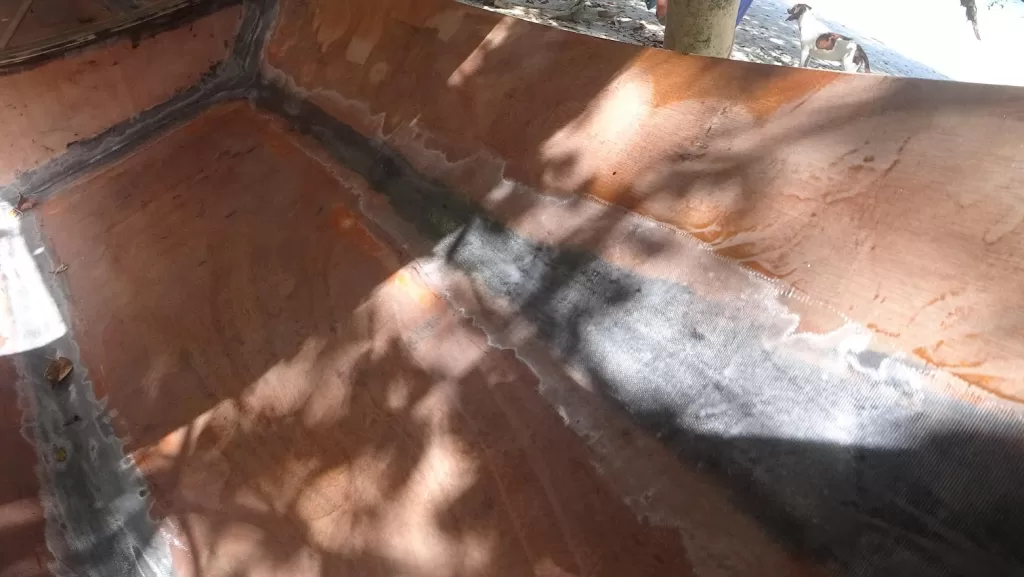
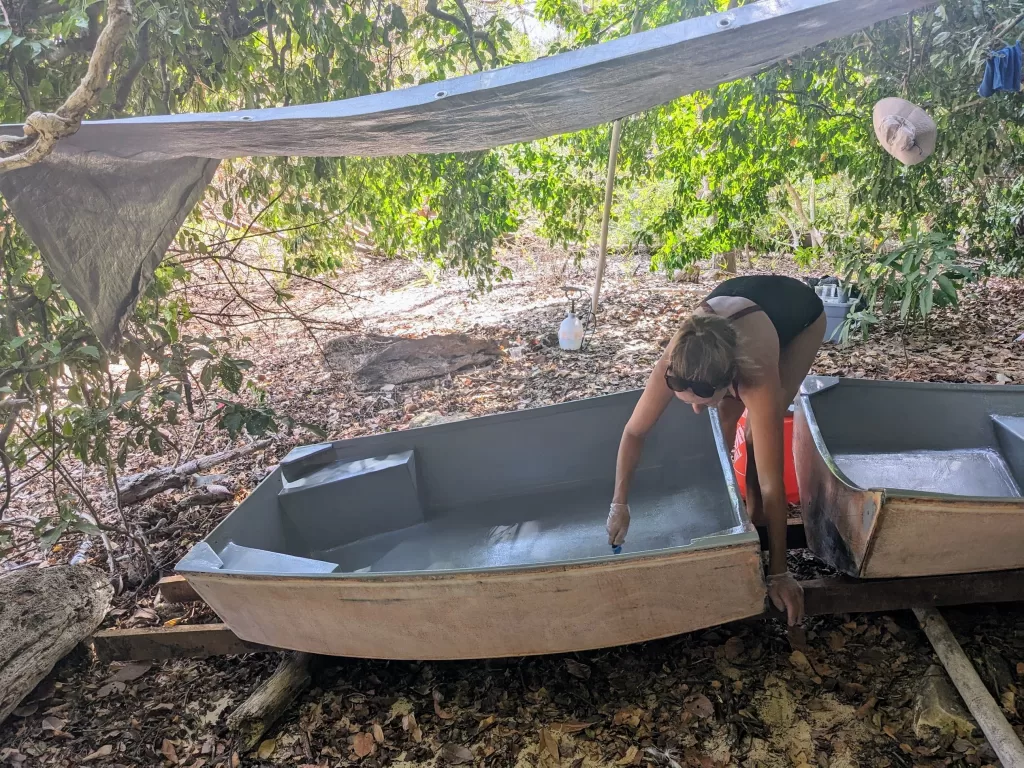
The Chameleon is built using a well known method called “Stitch and Glue”. This method entails first joining plywood panels together into the rough shape of the boat using a combination of fishing line, zip ties or copper wire (stitching). Next, the joints are made permanent and waterproof with thickened epoxy and layers of fiberglass cloth (gluing). Finishing the boat involves sheathing the entire hull in fiberglass cloth with more epoxy and painting with a heavy-duty, epoxy paint. And, as with any boat project, there was lot and lots of sanding in between each step!
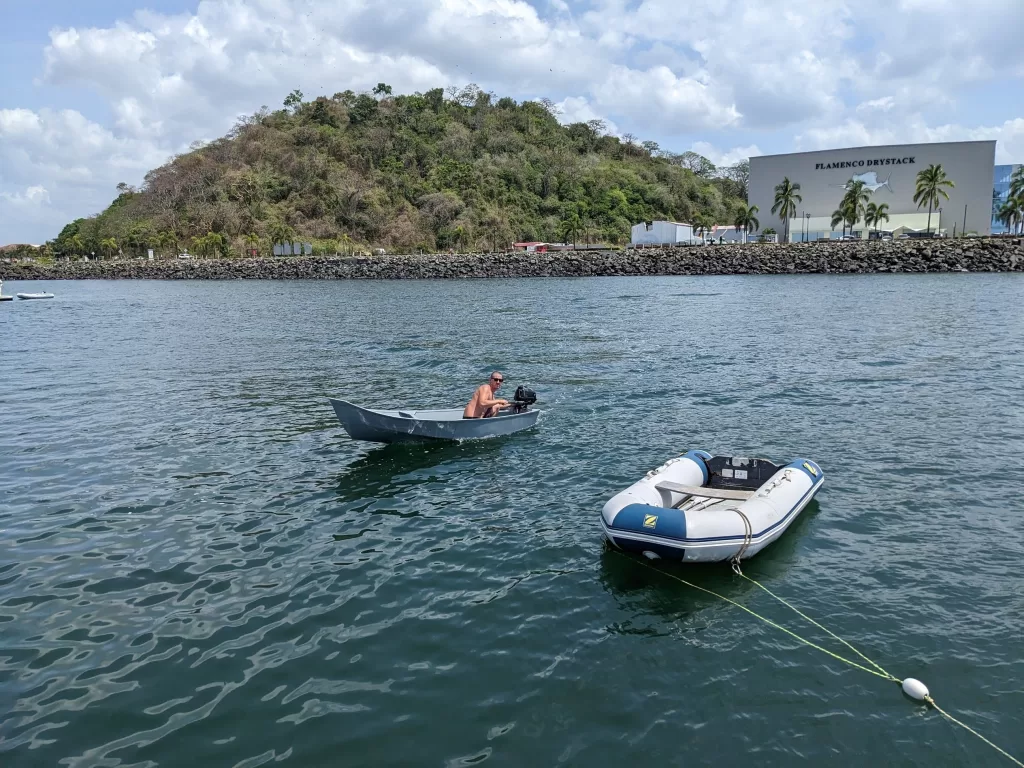
The (almost) finished product

All our hard work paid off! We have been thrilled with our new dinghy’s performance these last few weeks. Already we’ve successfully loaded it down with groceries and pet supplies, motored into heavy winds and swell without getting soaked, stowed it and launched it twice without issue and landed on the beach in breaking waves without sinking. There is still more work to do; we haven’t yet installed the rowing hardware, the sailing components or applied the name to the hull, but we expect to enjoy our new dinghy for many years to come!
TLDR for DIYers
Since there are many other great, detailed tutorials and videos online showing all the steps to build the Chameleon, I won’t go into extensive detail on each step. However, for those interested in building this dinghy, I will offer the following tips based on my own experience as a first-time builder:
- Thinner plywood all around, more fiberglass inside – The design calls for use of 1/4″ plywood and only optionally suggests fiberglass cloth be applied to the inside floor. Based on other builders comments, we opted to use slightly thinner plywood (5.2mm or roughly 13/64″) and we sheathed the entire inside of the boat with fiberglass cloth. This makes for an equally light weight, stronger and more durable boat overall. At the very least, I would recommend the floor be covered with fiberglass, as it will take a beating with extended use.
- Clamps, clamps and more clamps – The design allows for those without access to many tools to temporarily join and laminate pieces of the boat using screws. However, the added time and epoxy needed to join, then remove and fill screw holes adds up quick. I would highly recommend getting a bunch of C-clamps in various sizes to join pieces together while epoxy cures. I got the job done with 6x 3-inch, 4x 4-inch and 2x 6″ clamps but would have liked maybe 2 more of each.
- 4 (shorter) mating bolts is better than 3 – The design calls for only 3x bolts to hold the two halves together; 2x 2.5″ long and 1x 5″ long. I opted for 4x bolts, each only 2″ in length and only partially threaded. The shorter length is a better fit for the thinner plywood I used, and I feel the extra bolt provides a stronger connection between the two halves. The partial threads help to reduce wear on the holes through the mating bulkheads, as the boat flexes and vibrates during use. Also I could never figure out why the plans specified such a long 5″ bolt for the center connector, so beware before you order your hardware.
- Daggerboard trunk and block mystery – I still haven’t finished assembling all of the “sailing” components of the dinghy. One such piece, the daggerboard trunk and its associated hardwood blocks, is not well described in the plans. Between the schematics and other builders examples I have built what I think will work but I wasted a lot of time getting it together and I don’t yet have it installed in the boat. My advice; keep it simple and make it strong. I’ll eventually post an update when I get the sailing components fully operational.
- Epoxy Paint please and thank you – cruisers’ dinghies take abuse. Protect your hard work with an equally hard, 2-part epoxy primer or self priming paint. The very first time we parked our new tender at the marina dinghy dock, the bow became inadvertently wedged beneath a protruding steel rail. Had we not covered the entire boat in 3 coats of amazingly tough paint, I expect we would already be repairing the bow… Instead we simply accumulated a bit of the rail’s paint and went about our business.
- Lots of time, lots of work – Though the designer estimates the amount of time it takes to build the dinghy between 80 and 140 hours depending on the options you choose, I would consider this only if you are an experienced builder and have a good work area. As a first-timer building on a remote beach I spent roughly 170-180 hours just getting the boat floating and motorable/rowable. The sailing components will still take a bit of time to complete.
Das war eine erstklassige Arbeit von euch. Respekt!